Homemade Taralli {Italian White Wine Biscuits}
When Michael was alive I had to hide my summer baking habits, making pies, cookies and other treats while he was at work. Of course, it never really worked keeping the truth from him, as the drips of condensation on the floor outside our front window from the air conditioner were telltale signs of what I’d been up to.
I mean, I love baking year-round but I’m not crazy enough to do it without climate control. Thankfully, he loved everything he came home to, so after a few minutes of lecturing me about baking when it was 90ºF + degrees outside, he usually shut up and realized he was quite a lucky fella.
One of my favorite meals to serve during warmer weather is a board cobbled together with finger foods. A typical board will include paper-thin slices of prosciutto di parma or cacciatorini, olives (almond stuffed olives are my absolute favorite), an assortment of nuts, cheeses, whatever dried and fresh fruits I have on hand, and sometimes fritto misto or panelle.
Italian Wine Biscuits | In Jennie’s Kitchen
Italian Wine Biscuits | In Jennie’s Kitchen
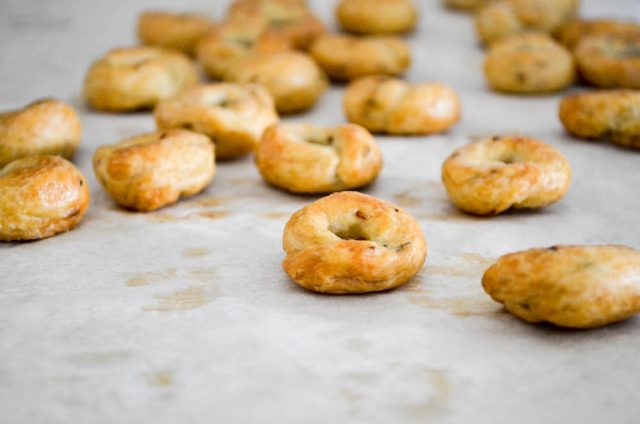
Then there’s the bread. This is non-negotiable for me, and probably for my kids, too. Sometimes it’s homemade. Sometimes it’s store-bought. And sometimes it’s crackers. That’s where these taralli come into play. They’re great for eating with just a crisp glass of chilled wine, but also a perfect vehicle for wrapping bits of cheese and prosciutto around.

Italian Wine Biscuits | In Jennie’s Kitchen
Italian Wine Biscuits | In Jennie’s Kitchen
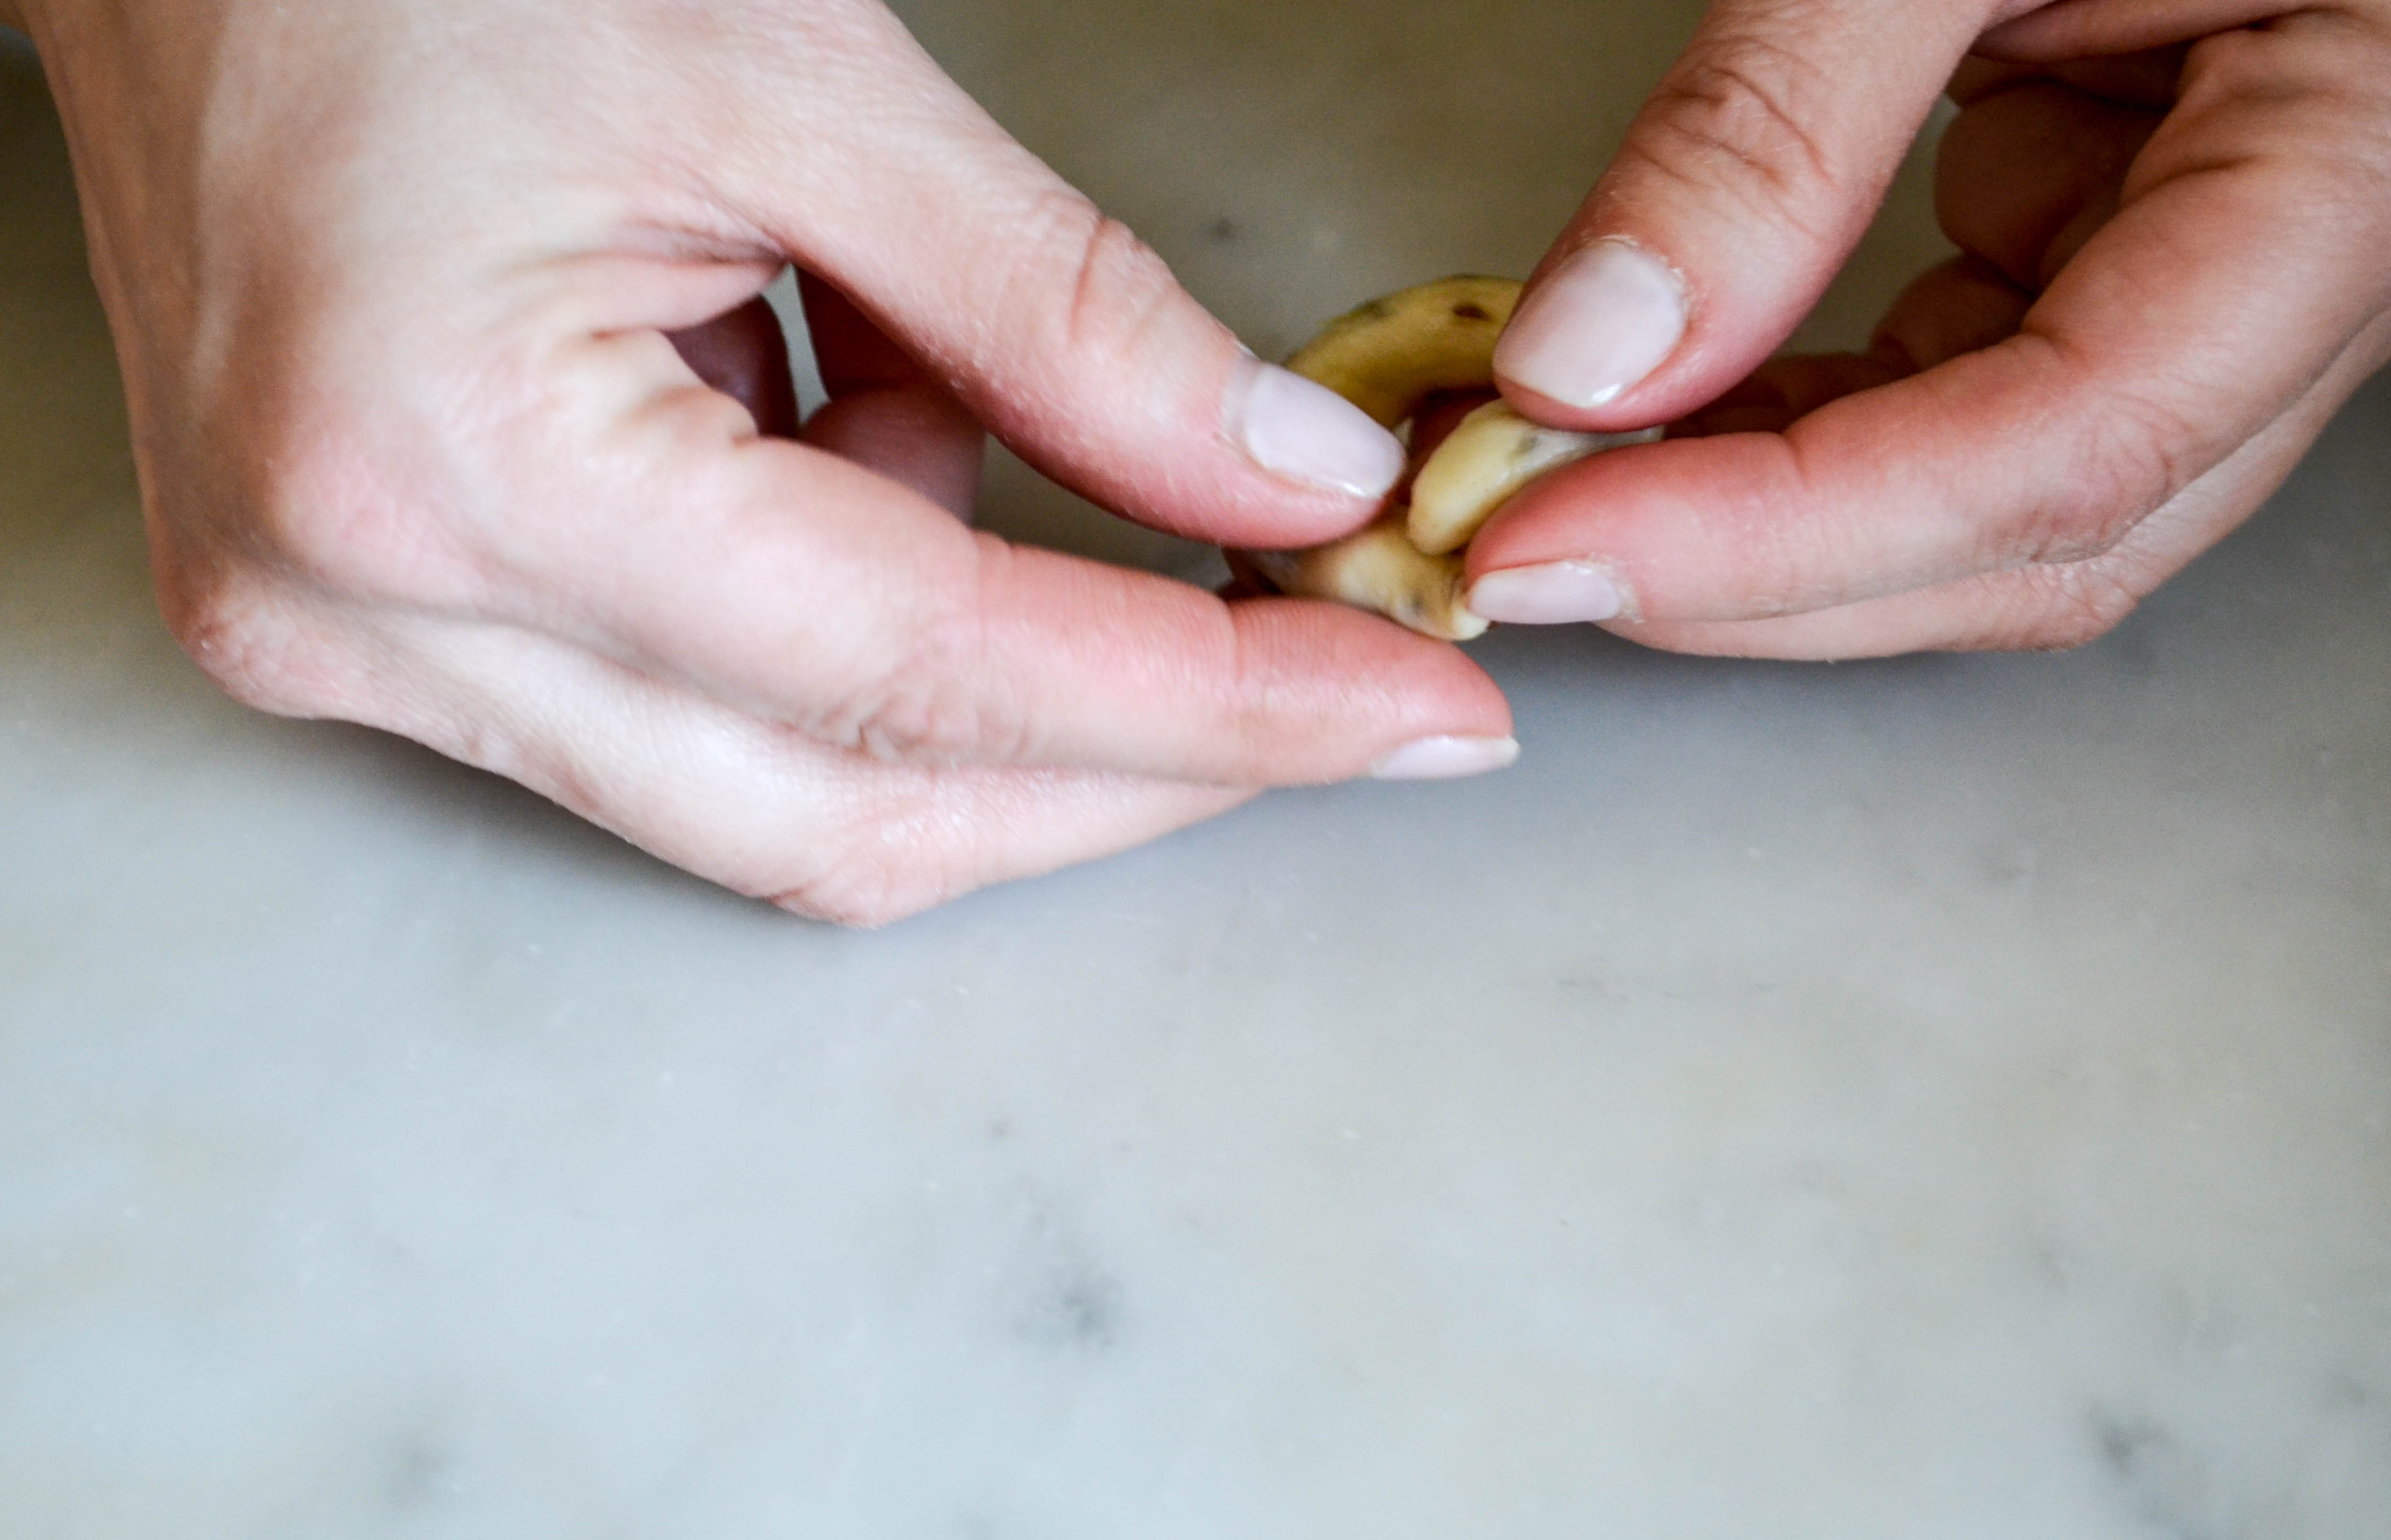
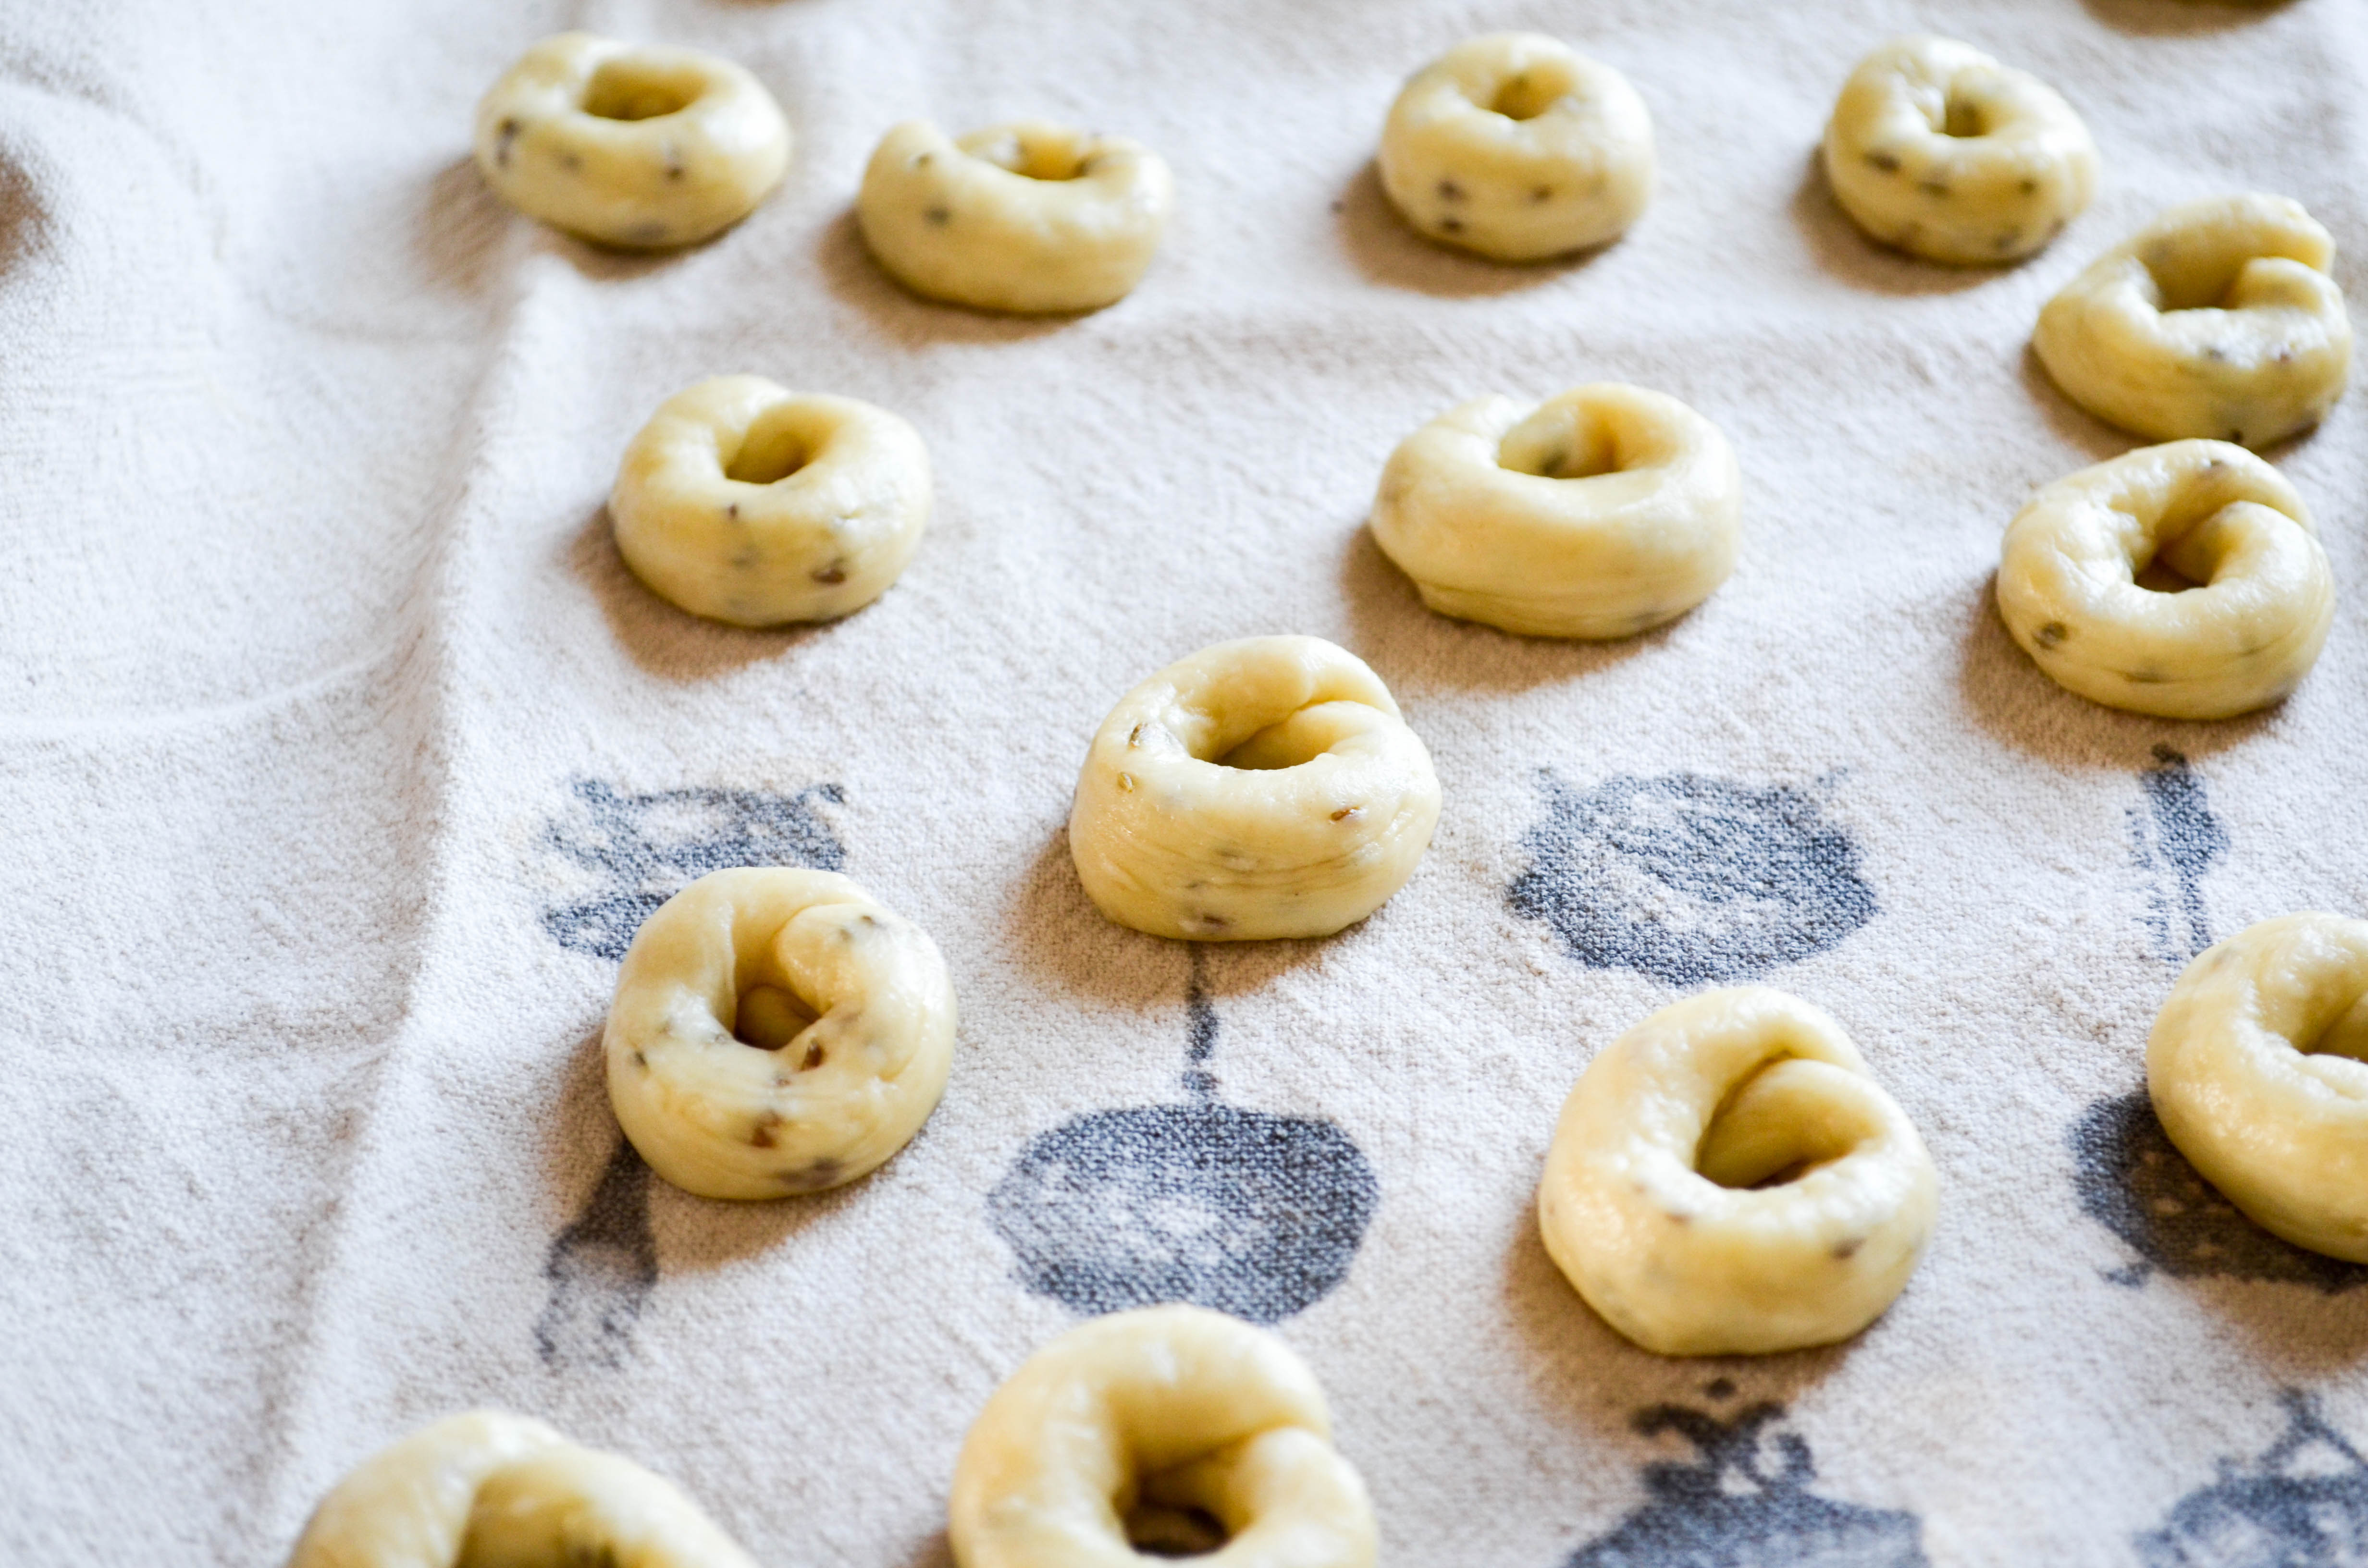
Taralli are fun to make. My 11 year old can confirm this since she helped make the last batch. I even set my perfectionist tendencies aside to let her help, knowing they wouldn’t all be perfectly shaped. I need those reminders to keep me in check about the real purpose of why I love cooking.
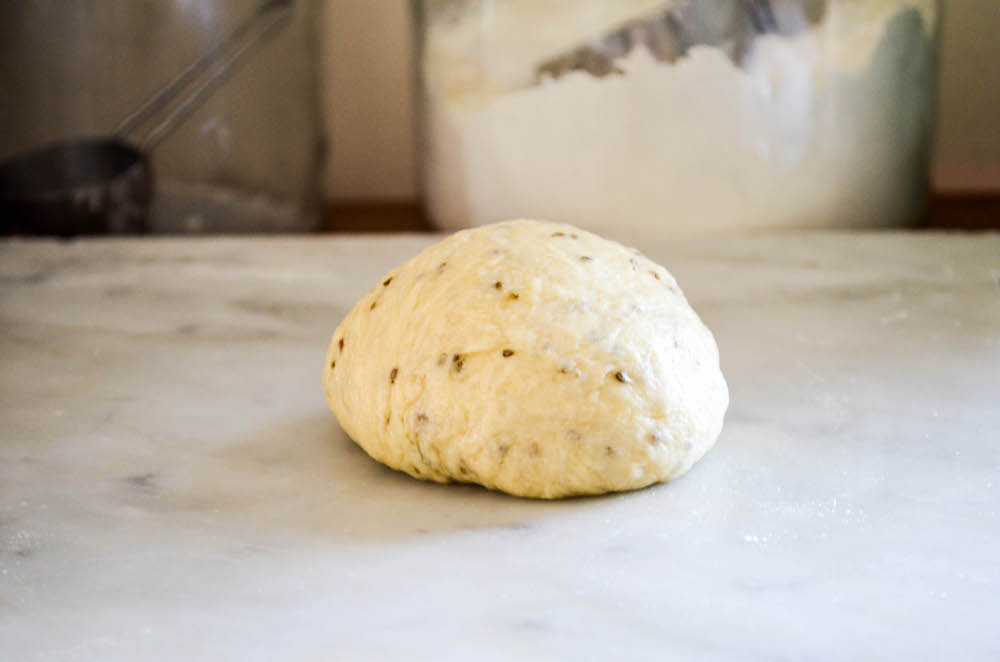
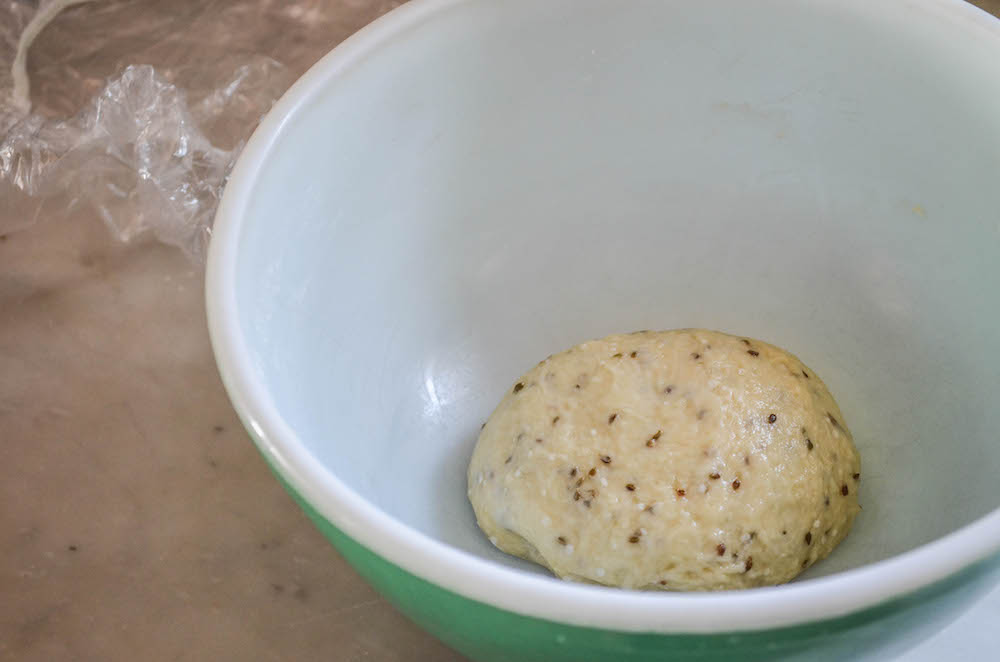
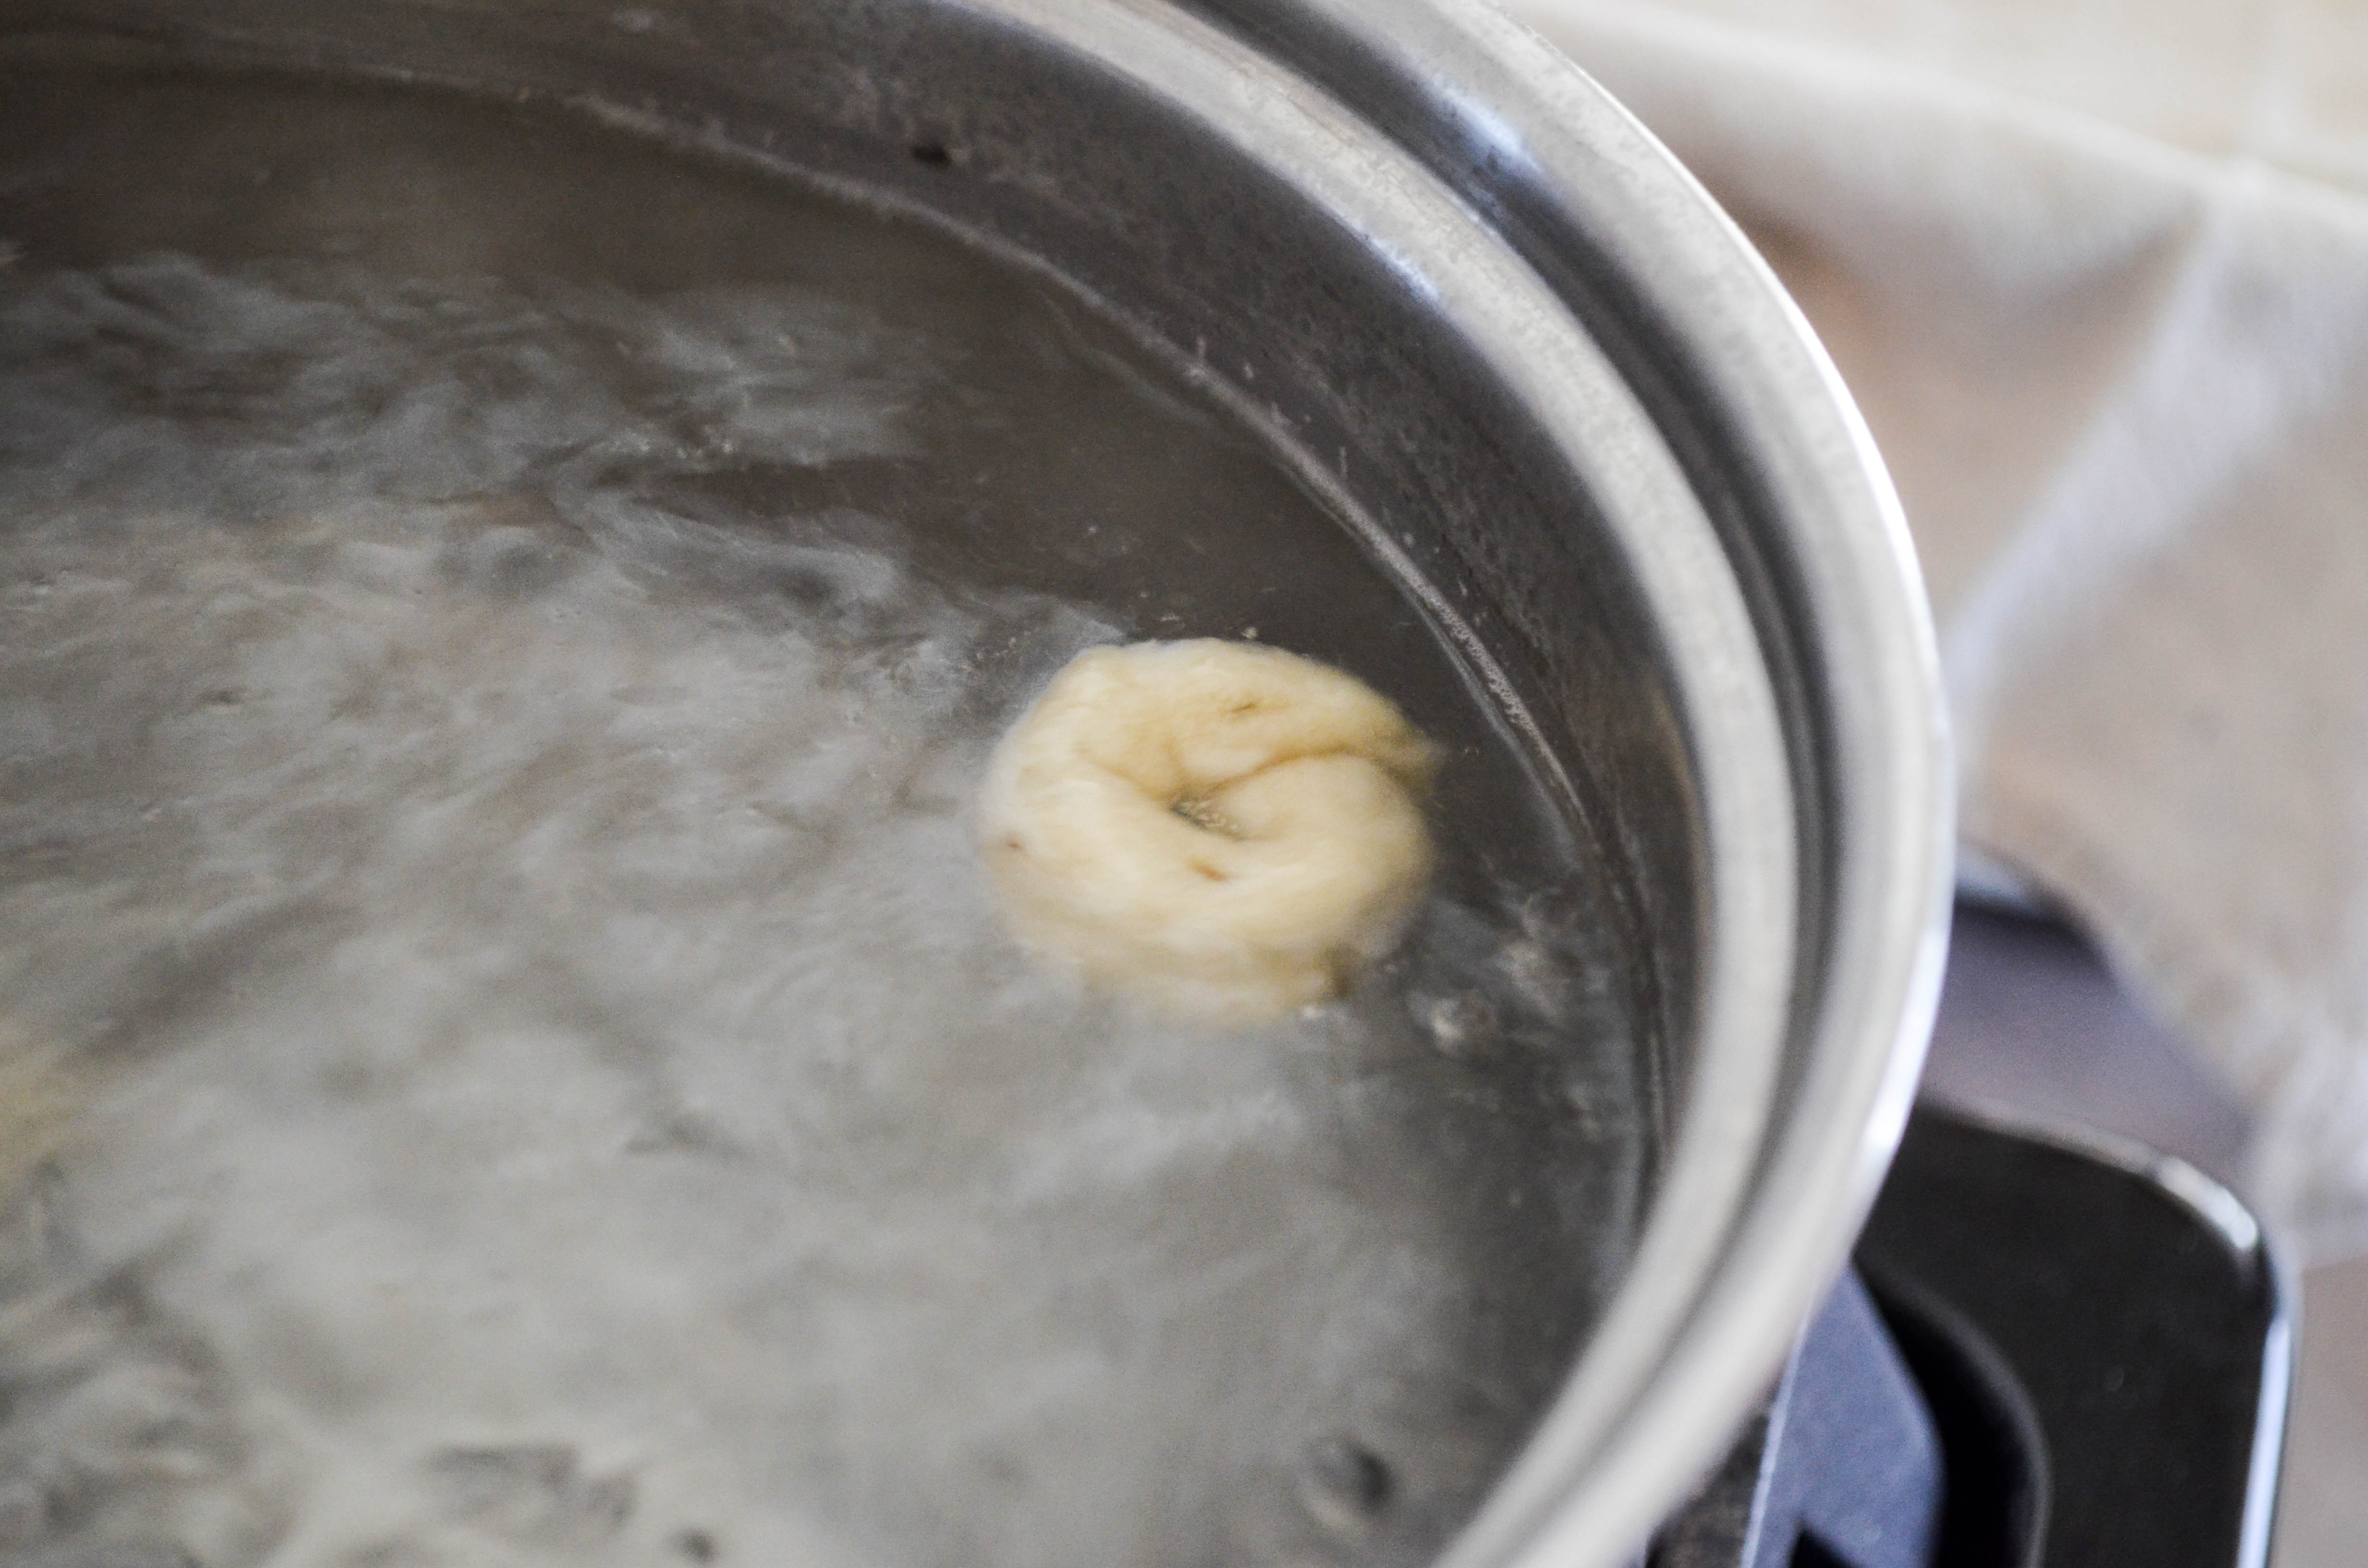
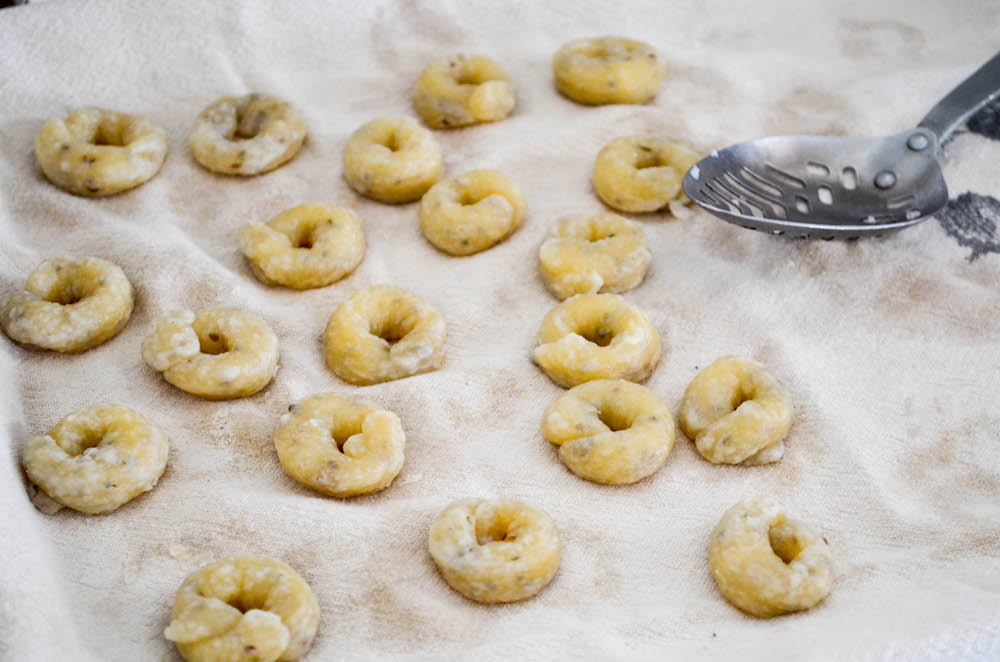
The dough comes together quite easily, and needs a brief rest of 30 minutes. Once shaped, the taralli get a quick boiling water bath, similar to making bagels. The blast of boiling water is what helps give them that beautiful shine. I don’t know the results if you were to skip this part, as this is how they’re traditionally made and how I’ve always made them. I have a feeling someone is going to ask me this, so if anyone bakes them straight away, please share your results with us.
Italian Wine Biscuits | In Jennie’s Kitchen
Italian Wine Biscuits | In Jennie’s Kitchen
Italian Wine Biscuits | In Jennie’s Kitchen
The recipe calls for white wine. You can also use rosé, which I’ve done on occasion when that’s what’s open in the fridge. If you keep a bottle of Lillet chilling in the fridge you can even use that—but don’t tell the Italian food police because I’m sure someone is going to say “you can’t do that”, to which I’ll roll my eyes, while munching on these taralli.
Italian Wine Biscuits | In Jennie’s Kitchen
This recipe is now available to paid subscribers on my site, Simmering. Join thousands of other subscribers now for only $5/month or $30/year (that’s six months free!). Use this link for a special 15% discount on annual subscriptions for being a loyal reader of In Jennie’s Kitchen (that’s only $25.50/year!).
Toni frontino
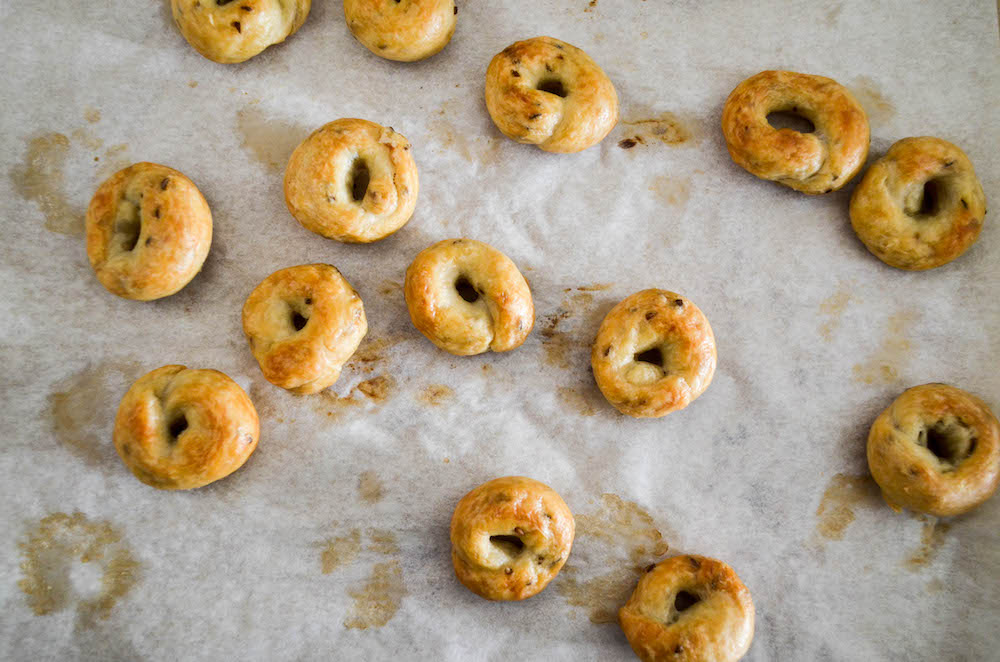
I have been making these for about a year, they taste good but are too hard. I know they are supposed to be hard, but these are very hard.
Jennie
Tony, they are supposed to be a hard, crumbly biscuit, but you can always bake them a little less if you prefer a softer texture.
-Jennie