Mason Jar Butter
My reasoning for doing things the old fashioned way isn’t always logical, and so is the case with making this mason jar butter. But, really, why start letting logic factor into my decisions at this point in life? I’d picked up some perky looking spring radishes at the farmers’ market a few weeks ago. An immediate craving for a crusty baguette slathered with butter and thinly sliced, crisp radish slices kicked in.
For a sandwich of such simplicity, only high quality ingredients would do. I needed amazing bread, fresh, firm radishes, and salty, creamy, rich butter. I made a pit stop to Fresh Baguette after I dropped the kids at school, in anticipation of that day’s lunch. As for the butter, I decided to make some. Normally I’d use the food processor for a big batch. I knew we’d be gone for a few days, though, so decided a small bit, just a few tablespoons would suffice.
Remembering I’d made mason jar whipped cream a few days earlier, making mason jar butter was the next logical step. You just have to shake it a few minutes longer (okay maybe a few more than a few), and voila—you’ve got homemade butter AND an upper arm workout. Maybe I’m onto something here. Perhaps I can invent butter bells—weights you can use to tone your arms, and wait…I guess at that point, I’m just taking calories from one place and adding them to another. Never mind.
Back to making mason jar butter. I figure more than a few of you are in the same boat I’m about to be in with summer break on the horizon. This is a fun activity for younger kids, and a sure fire way to have your teen roll her eyes at you. It might even illicit a few huffs and puffs about how dorky your idea of fun is this summer. Frankly, I find it magical to watch the stages one simple ingredient like heavy cream goes through to turn into creamy, rich, homemade butter.
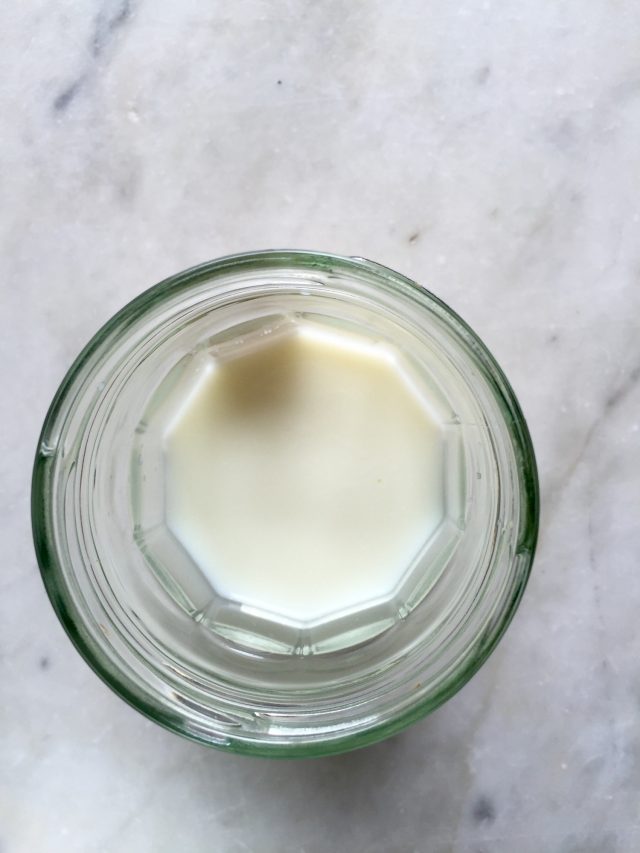
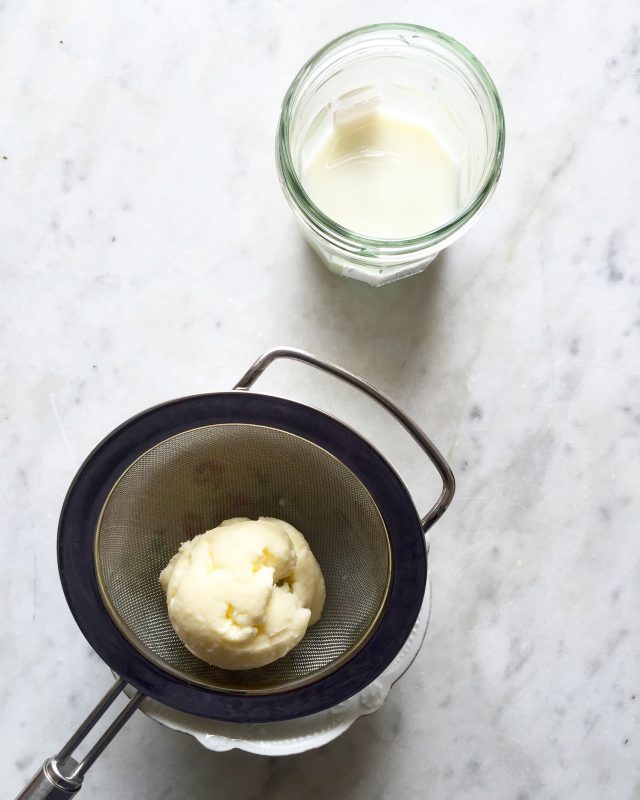
As for keeping it a sweet cream butter, or salted butter, that’s your call. I will say that adding salt will act as a preservative, keeping your butter fresher for longer. I usually salt it after all of the liquid has been pressed from the solids. That resulting liquid, by the way is buttermilk, but not the cultured buttermilk called for in baking. Cultured buttermilk is thicker, adding a fuller body to baked goods. This resulting buttermilk is amazing to drink over ice. You can make your own cultured buttermilk but it requires a culture starter. Here are some tips from Food Renegade and The Praire Homestead on how to do so.
Mason Jar Butter
Ingredients
- Heavy cream
- Clean marble
- Clean glass mason jar
Instructions
- Add the cream and marble to your mason jar. Cover the jar tightly with a lid.
- Shake vigorously, the time depending on how much butter you’re making. For a ½ cup of cream, it took me about 7 to 8 minutes of shaking.
- The liquid will stiffen into whipped cream rather quickly, and then it’ll seem like you’re at a standstill. Keep shaking.
- A few minutes later the cream will break, and look a bit like a slurry with bits of solids and liquid. That’s the butter forming. Keep shaking until it forms one larger solid chunk of butter.
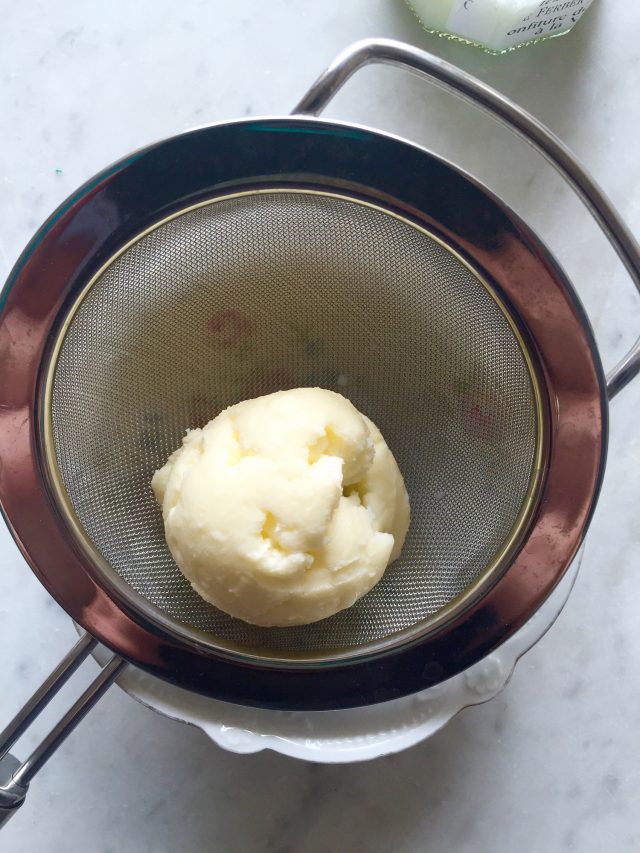
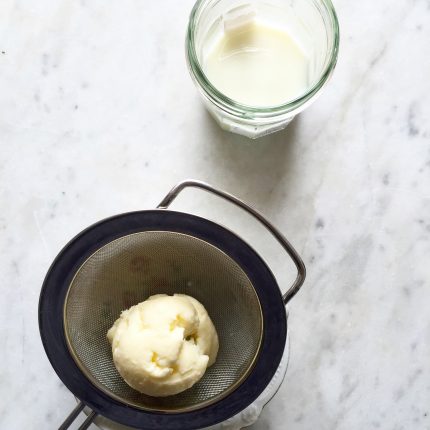
- Set a sieve over a bowl. Pour the butter into the sieve. Gently press the butter, just enough to extract any remaining liquid, but not so hard that you start pressing bits of butter through the sieve. Save the buttermilk or drinking (this buttermilk shake cocktail from 101 Cookbooks would be a great use). Salt the butter, if you like, to taste. Store, covered, in the fridge, and use within 5 days.
Now time to go figure out the rest of our summer activities, and pack a few more boxes. Moving day is this Saturday. I’d love to say this my last, ever, but my crystal ball must’ve gotten lost during one of the 20+ moves I’ve made in this lifetime, thus far.
Meg
One of the few memories I have of kindergarten was making butter in a glass jar. The whole class got to participate.